Cycling Safety and Comfort
*We may earn a commission for purchases made using our links. Please see our disclosure to learn more.
Cycling Safety and Comfort: Essential Tips for Every Rider
More than 80 million people in the United States ride bikes for fun, exercise, and getting around. But whether you’re new to cycling or have been riding for years, staying safe and comfortable on your bike requires more than just hopping on and pedaling away. The good news is that simple changes to your gear, bike setup, and riding habits can make a huge difference.
Making your rides both safer and more comfortable starts with understanding how your equipment, environment, and riding technique work together. I’ve seen too many riders struggle with discomfort or close calls that could have been avoided with basic knowledge. From the right bike fit to defensive riding skills, small improvements add up to better rides.
In this guide, I’ll walk you through practical steps to protect yourself on the road and enjoy every mile. You’ll learn about essential gear that actually matters, how to adjust your bike properly, and strategies for different riding conditions. Whether you ride in the city or countryside, alone or with groups, these tips will help you ride with confidence.
Essential Cycling Gear
The right equipment protects you from injury and makes your rides more comfortable. A proper helmet, protective clothing, and appropriate footwear form the foundation of safe cycling.
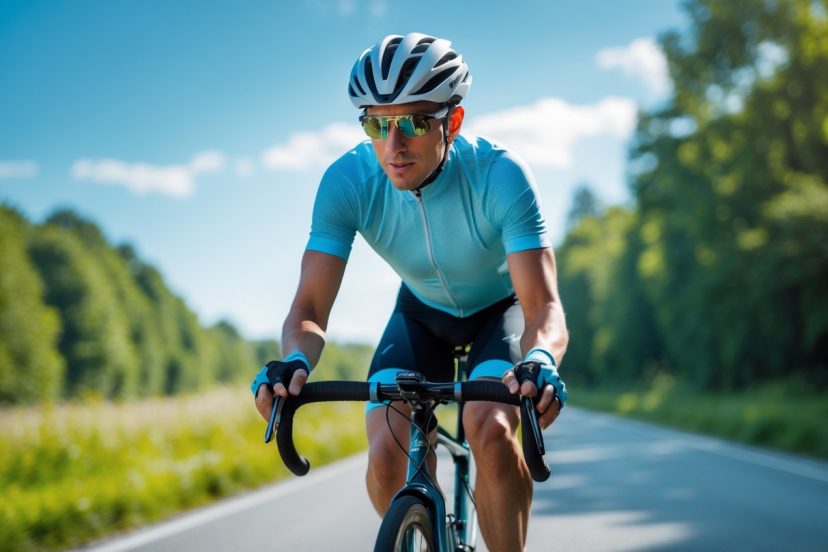
Helmets and Head Protection
A helmet is the most important piece of safety gear I can wear while cycling. It protects my head during falls and collisions by absorbing impact force.
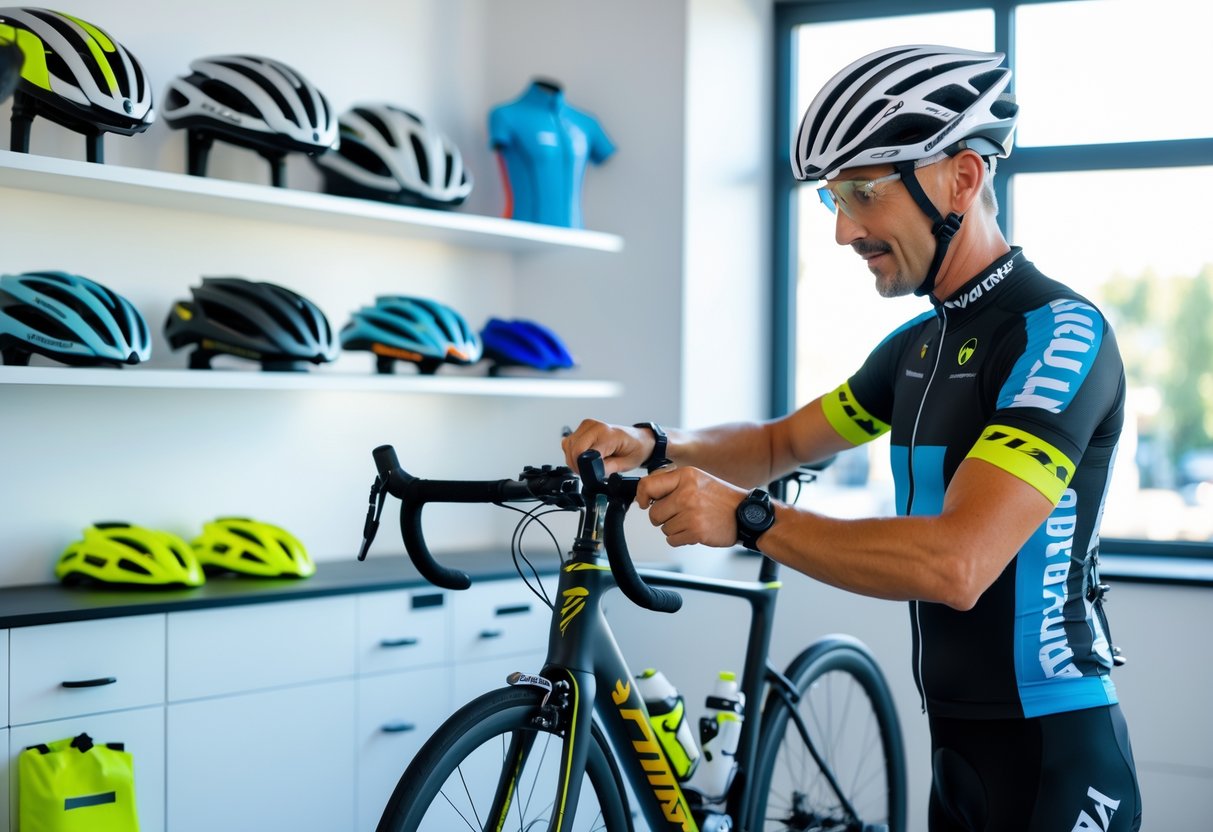
I need to choose a helmet that meets safety standards like CPSC or EN 1078. The helmet must fit snugly without sliding around when I shake my head. I should position it level on my head, about one inch above my eyebrows.
Key helmet features I look for:
- Proper ventilation to keep me cool
- Adjustable retention system for a secure fit
- Lightweight construction for comfort
- Reflective elements for visibility
I replace my helmet every three to five years or immediately after any crash. Even small impacts can compromise the protective foam inside.
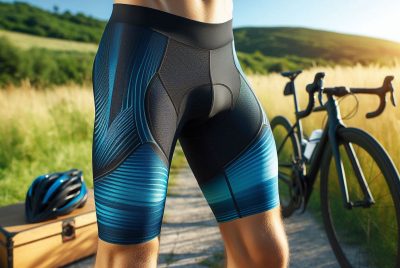
Protective Clothing and Accessories
Padded cycling shorts reduce discomfort during long rides. The padding, called a chamois, cushions pressure points and prevents chafing. I wear these shorts without underwear for best results.
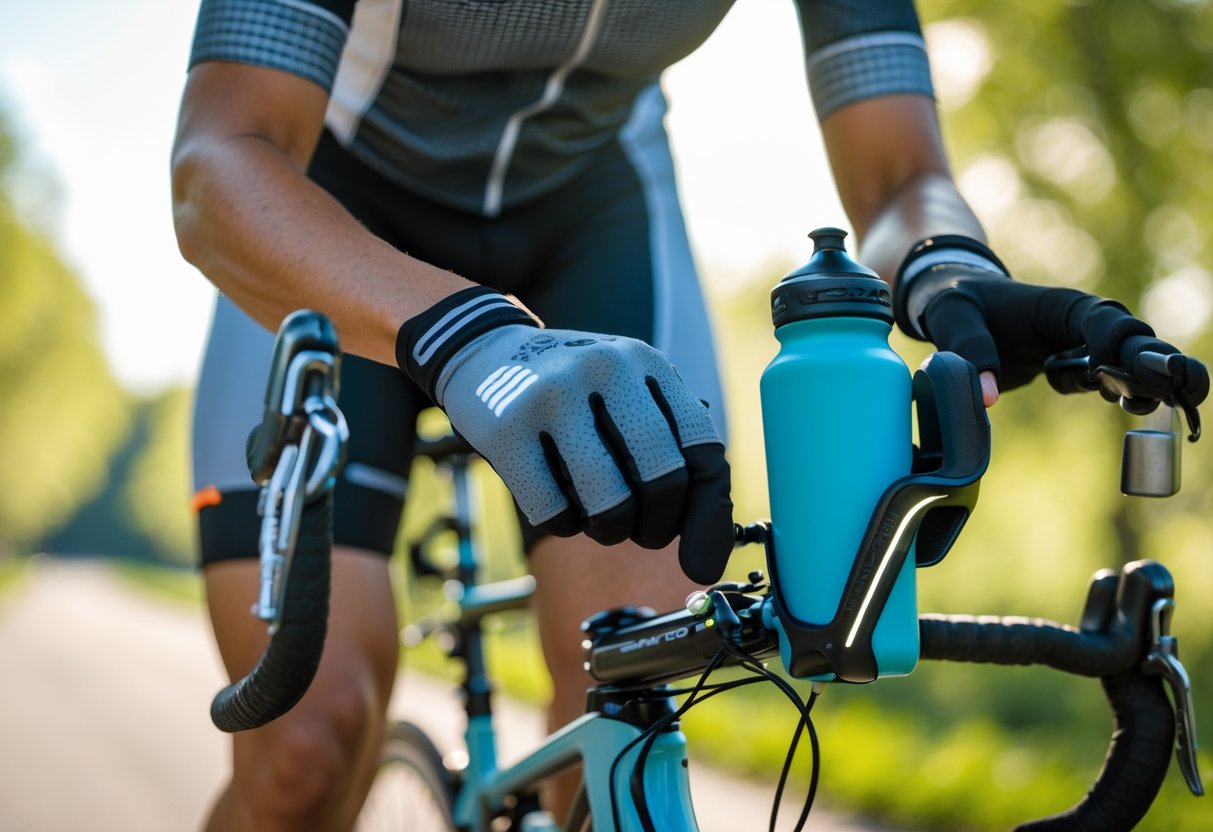
Cycling gloves protect my hands from blisters and absorb road vibrations. They also shield my palms if I fall.
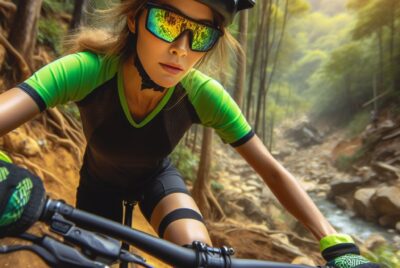
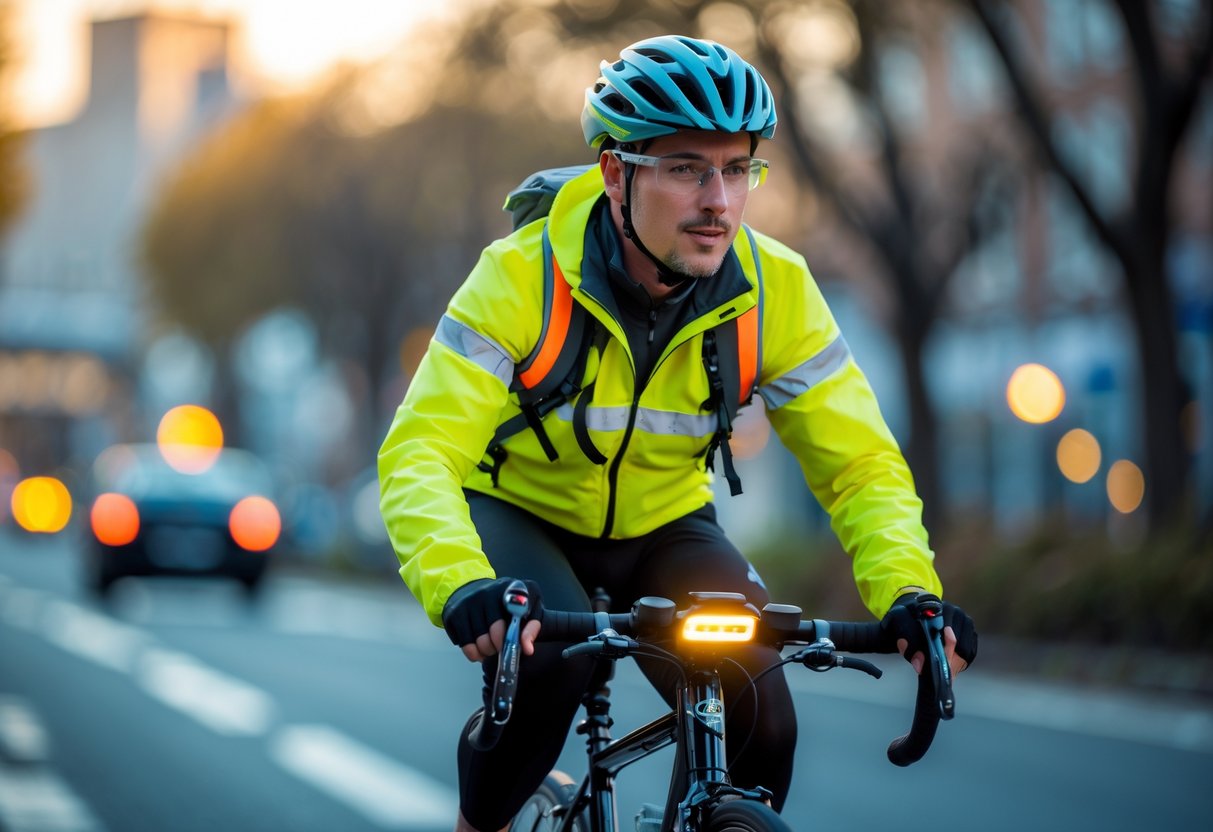
I wear bright or reflective clothing to make myself visible to drivers. High-visibility jerseys work well during the day, while reflective vests or strips help at night.
Sunglasses protect my eyes from UV rays, wind, and debris. I choose glasses with shatterproof lenses that won’t fog up easily.
Footwear for Safe Riding
Proper cycling shoes improve my pedaling efficiency and safety. They have stiff soles that transfer power directly to the pedals.
I can choose between clipless shoes that attach to special pedals or flat-soled shoes with good grip. Clipless shoes provide better control and efficiency. Flat shoes work well for casual riding and make it easier to put my foot down quickly.
My cycling shoes need to fit snugly without pinching my toes. I avoid regular sneakers for serious rides because their soft soles waste energy and can slip off pedals.
Bicycle Fit and Adjustment
Getting your bicycle fit right affects how comfortable you feel on every ride and helps prevent pain in your knees, back, and neck. The right adjustments also help you ride more efficiently and reduce your risk of injury.
Correct Frame Sizing
Frame size forms the foundation of a proper bike fit. I recommend checking the manufacturer’s size chart and matching your height and inseam measurement to their frame size recommendations. Most road bikes use centimeters to indicate frame size, while mountain bikes typically use small, medium, and large designations.
When I stand over the bike, I look for 1-2 inches of clearance between the top tube and my body for road bikes. Mountain bikes need 2-4 inches of clearance for safety on rough terrain.
The reach to the handlebars matters just as much as the frame height. I test this by sitting on the saddle and placing my hands on the brake hoods. My torso should lean forward at a comfortable angle without straining my back or shoulders. If I feel stretched out or cramped, the frame size probably isn’t right for my body proportions.
Handlebar and Saddle Positioning
Saddle height is the most critical adjustment I make. I set it so my knee has a slight bend of about 25-30 degrees when the pedal reaches the bottom of the stroke. A quick way I check this is by sitting on the bike with my heel on the pedal at the bottom position. My leg should be almost straight.
The saddle’s fore-aft position affects my knee alignment over the pedals. I adjust it so when the pedals are horizontal, my forward knee sits directly over the pedal axle.
Handlebar height changes my riding posture. Lower bars create a more aerodynamic position but put more weight on my hands and arms. Higher bars feel more comfortable for casual riding and reduce strain on my back and neck.
Pedal and Cleat Setup
Cleat position on cycling shoes changes how force transfers from my legs to the pedals. I position cleats so the ball of my foot sits directly over the pedal axle. This placement gives me the best power transfer and reduces strain on my ankles and calves.
The angle of the cleat matters for knee health. I align cleats to match my natural foot angle when walking. Most cleats offer a few degrees of rotational adjustment, called float, which lets my foot move slightly during the pedal stroke.
Platform pedals need proper foot placement too. I keep the ball of my foot over the pedal center for the best control and power.
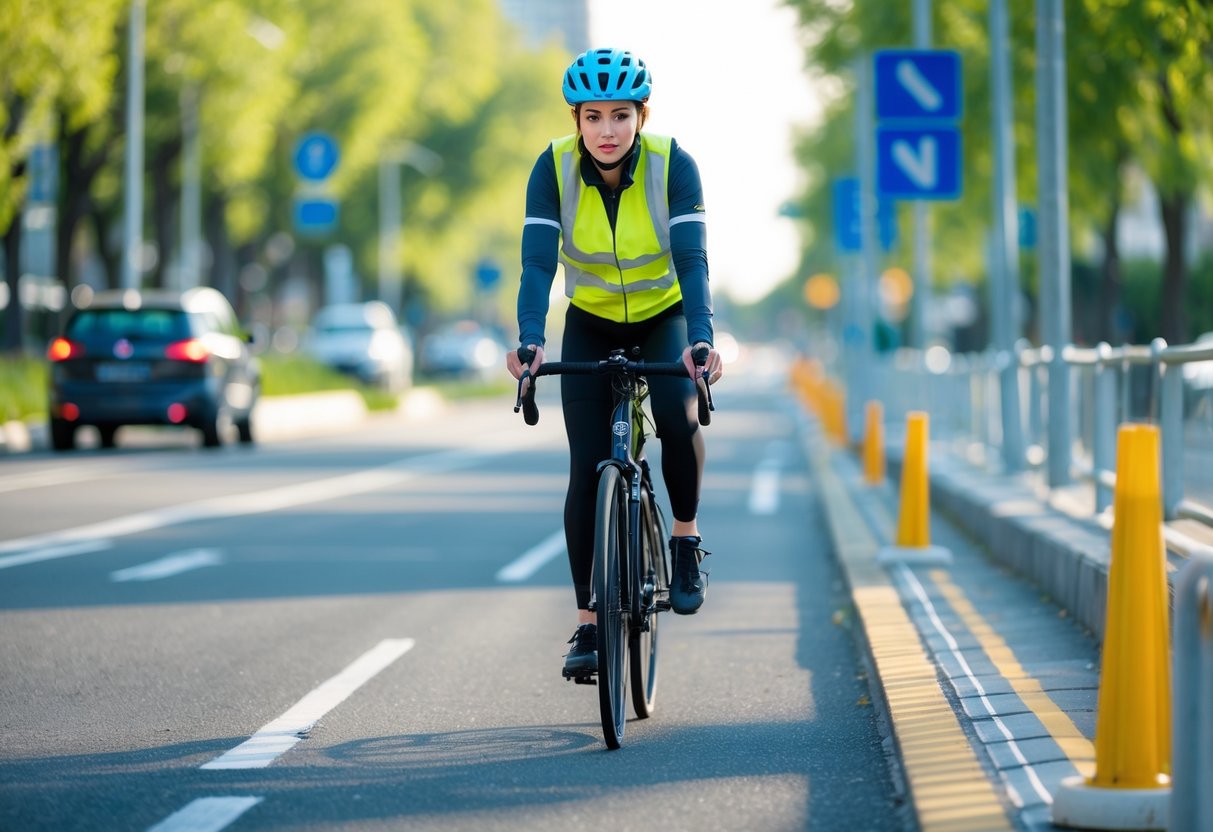
Visibility and Lighting Solutions
Being seen by motorists and other road users is one of the most critical aspects of cycling safety. Proper lighting and reflective materials can reduce accident risk significantly, especially during dawn, dusk, and nighttime riding.
High-Visibility Clothing
I recommend wearing bright, fluorescent colors during the day because they stand out against most backgrounds. Colors like neon yellow, orange, and lime green work best in daylight conditions.
High-contrast colors are particularly effective in urban environments. These garments help drivers spot you from greater distances, giving them more time to react.
I suggest choosing clothing designed specifically for cycling visibility. Many options include:
- Reflective strips on sleeves and back panels
- Fluorescent fabrics that glow in low light
- Mesh panels that maintain breathability
- Weather-resistant materials for year-round use
A reflective vest is an affordable starting point. It fits over regular clothing and provides 360-degree visibility.
Front and Rear Lights
Front lights serve two purposes: helping you see the road and making you visible to others. I recommend a minimum of 200 lumens for urban riding and 500-1000 lumens for unlit roads.
Rear lights are essential for being seen from behind. Red LED lights with flashing modes are most effective at catching driver attention.
Key features to consider:
- Battery life: Rechargeable USB lights offer 2-10 hours depending on mode
- Mounting system: Quick-release clips allow easy removal when parking
- Beam pattern: Wide beams increase side visibility
- Multiple modes: Steady, flashing, and pulse options for different conditions
I always run lights in daylight too. Studies show that daytime running lights improve recognition by motorists even in bright conditions.
Reflective Gear for Cyclists
Reflective materials bounce light back to its source, making you visible in headlight beams. I use reflective ankle bands because they create a distinctive moving pattern that drivers recognize as a cyclist.
Spoke reflectors add side visibility at intersections. They create a spinning effect that’s noticeable from perpendicular angles where other gear might not be visible.
Additional reflective options include:
- Reflective tape on helmet and bike frame
- Clip-on reflectors for bags and clothing
- Reflective gloves and shoe covers
- Wheel lights for enhanced side visibility
I combine multiple types of reflective gear to ensure visibility from all angles. The more reflective surfaces you have, the earlier drivers will spot you.
Road Awareness and Defensive Riding
Staying alert to your surroundings and riding with caution helps you avoid dangerous situations before they happen. Knowing the rules, watching for potential problems, and choosing the right spot on the road are key skills I use to stay safe.
Understanding Traffic Laws
Cyclists must follow the same traffic laws as cars in most places. This means I stop at red lights and stop signs, signal my turns with hand signals, and ride in the same direction as traffic.
I need to know which roads allow bikes and which don’t. Some highways ban cyclists completely. Local laws might require bells, lights after dark, or reflectors on my bike.
Essential traffic rules for cyclists:
- Stop at all traffic signals and signs
- Use hand signals before turning or stopping
- Yield to pedestrians in crosswalks
- Ride with traffic, never against it
- Use bike lanes when available
I always check my city’s specific bike laws since they vary by location. Some areas require helmets by law, while others just recommend them.
Anticipating Hazards
Defensive cycling means I expect problems before they occur. I watch car doors that might open suddenly, especially in parking areas. Drivers often don’t check before opening doors, which can cause serious crashes.
I look ahead for potholes, gravel, wet leaves, and storm grates. These can make my bike slip or throw me off balance. When I see them coming, I have time to slow down or move around them safely.
Parked cars need extra attention because someone might pull out without looking. I also watch for cars turning right across my path. Many drivers don’t see cyclists when they’re focused on making their turn.
Weather changes how I ride. Rain makes roads slippery and reduces how well drivers can see me. I slow down and give myself more space to stop.
Safe Positioning on the Road
I ride far enough from parked cars to avoid opened doors. This usually means staying about three feet away from parked vehicles.
Taking the lane is sometimes the safest choice. When roads are too narrow for cars to pass safely, I ride in the center of the lane. This prevents drivers from squeezing past me with no room.
Where to position myself:
- Bike lanes: Center of the lane
- Wide roads: Three to four feet from the curb
- Narrow roads: Middle of the lane
- Near parked cars: At least three feet away
I avoid riding too close to the curb where debris collects and drainage grates sit. This area is also harder for drivers to see. Being visible and predictable matters more than staying out of the way.
Bike Maintenance and Safety Checks
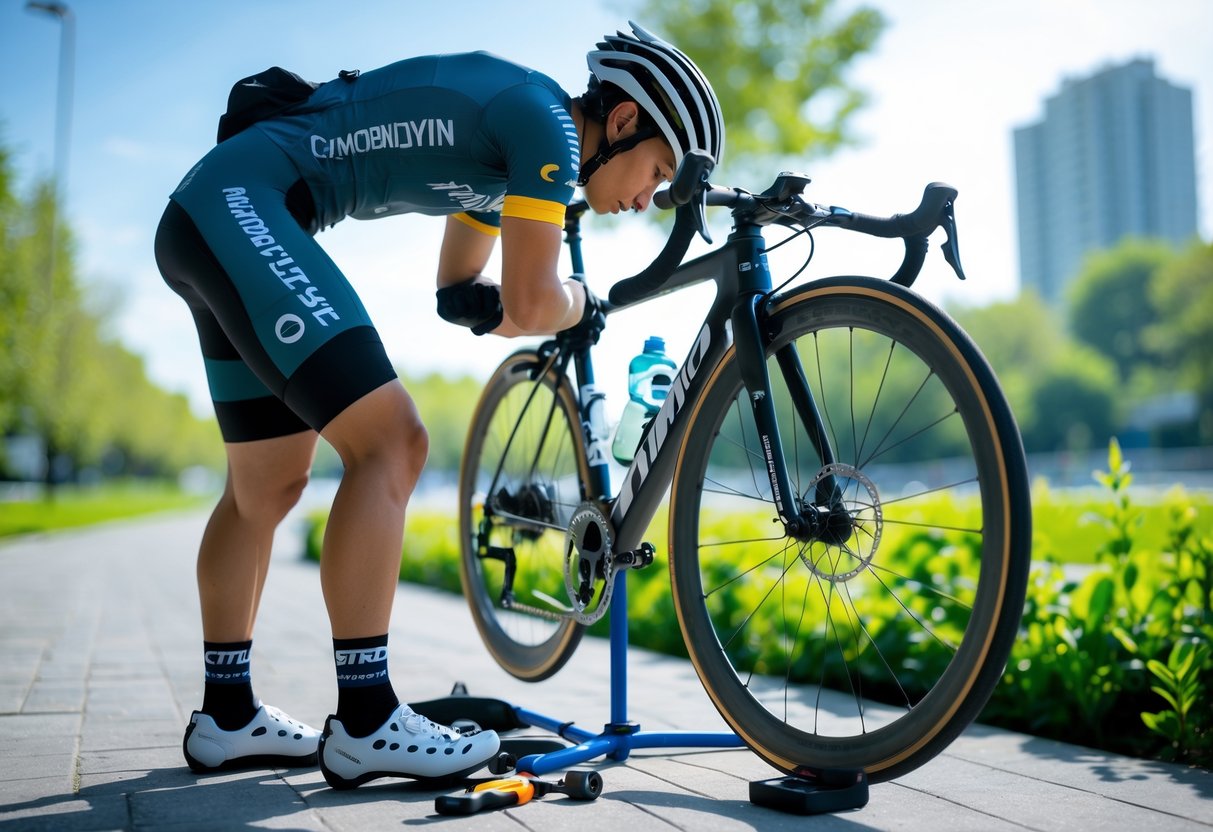
A safe bike needs regular attention to three key areas: a quick check before each ride, proper brake and tire function, and a clean drivetrain. These basic tasks prevent accidents and keep your bike running smoothly.
Pre-Ride Inspection
I always do a quick ABC check before riding. This takes less than two minutes and catches problems before they become dangerous.
A is for Air. I check that both tires have proper pressure by pressing on them with my thumb. Soft tires make steering harder and increase the chance of flats.
B is for Brakes. I squeeze both brake levers to make sure they work. The levers should feel firm and stop the wheels completely. If they touch the handlebars or feel mushy, I don’t ride until I fix them.
C is for Chain and Cranks. I look at the chain to see if it’s rusty or dry. I also spin the pedals to make sure they turn smoothly without wobbling.
I check a few more things too:
- Handlebars are tight and aligned with the front wheel
- Seat is secure and at the right height
- Wheels spin freely without rubbing the brakes
- All quick-release levers are closed
Regular Brake and Tire Checks
I inspect my brakes and tires once a week if I ride often. Brake pads wear down over time and need replacement when they get thin.
I look at the brake pads to see how much material is left. Most pads have wear lines that show when they need replacing. I also check that the pads hit the rim properly and don’t rub the tire.
For tires, I check the pressure with a gauge. The correct pressure is printed on the tire sidewall. I also look for cuts, cracks, or objects stuck in the tread. Small punctures can cause flats later if I don’t remove them.
The tread shouldn’t be completely worn smooth. If I can see the fabric underneath the rubber, I need new tires.
Chain and Gear Care
A clean chain makes shifting easier and lasts much longer. I wipe my chain with a rag every week or two, depending on how much I ride.
I apply bike-specific lubricant to the chain after cleaning it. I put one drop on each link while slowly turning the pedals backward. Then I wipe off the excess because too much oil attracts dirt.
I shift through all the gears during a test ride to make sure they change smoothly. If the chain skips or makes grinding noises, the gears need adjustment. I also check that the chain isn’t stretched or rusty, which means it needs replacement.
Weather-Specific Riding Strategies
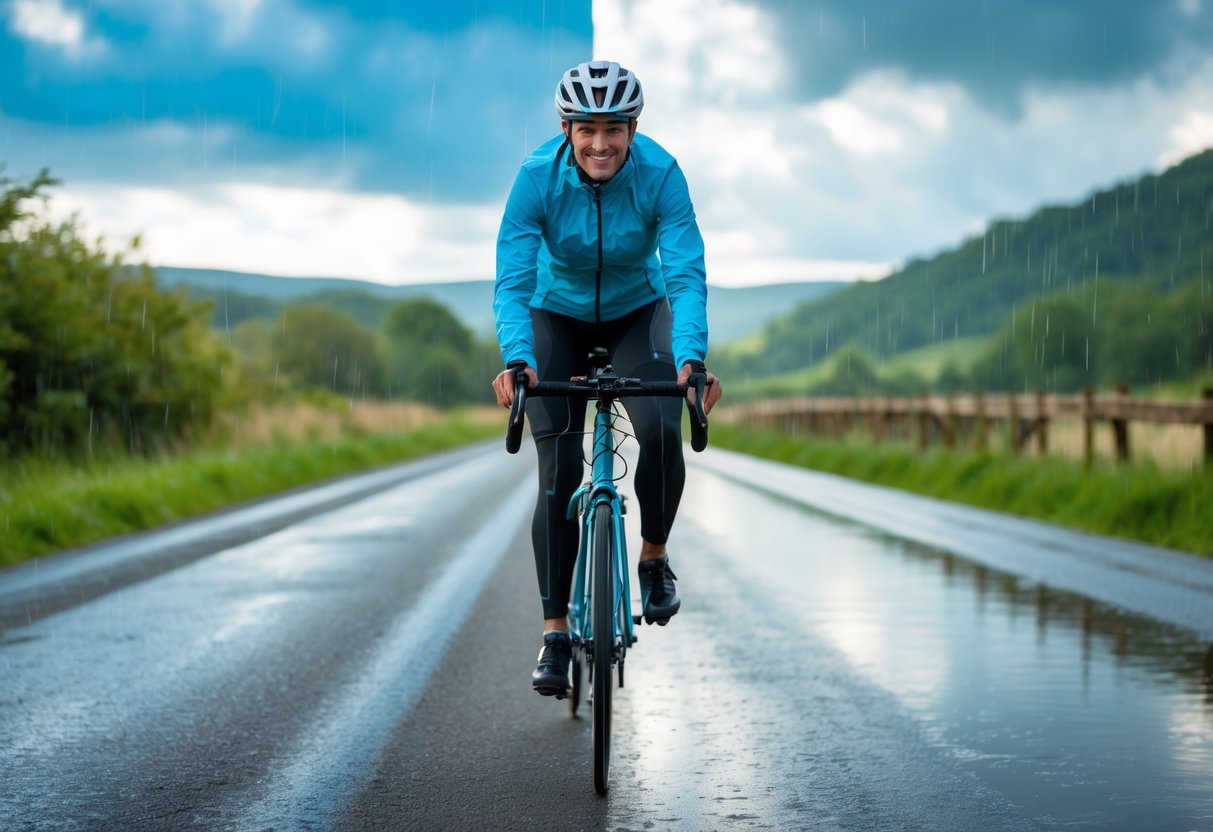
Different weather conditions demand specific adjustments to your riding technique and equipment choices. Rain requires enhanced visibility and control measures, heat calls for hydration and cooling strategies, and cold weather needs proper layering and gear modifications.
Cycling in Rain and Wet Conditions
I always equip my bike with fenders before riding in wet weather. They prevent water and mud from spraying onto my clothing and face, which helps maintain visibility and comfort throughout the ride.
Waterproof attire is essential for staying dry. I wear a waterproof jacket with sealed seams and waterproof pants or leg coverings. My feet stay protected with waterproof shoe covers or dedicated rain boots.
Key safety adjustments I make in wet conditions:
- Reduce speed by 25-30% when approaching corners
- Increase following distance to allow for longer braking times
- Avoid painted road markings and metal surfaces, which become extremely slippery
- Use bright lights even during daytime hours
I brake earlier and more gently than usual because wet rims and rotors need more distance to stop effectively. Painted crosswalks, manhole covers, and metal grates become hazard zones that I either avoid completely or cross very slowly while staying upright.
Riding in Heat and Sun Exposure
I drink water before I feel thirsty during hot weather rides. Waiting until thirst sets in means I’m already dehydrated. I consume 16-20 ounces of fluid per hour when temperatures exceed 80°F.
Light-colored, breathable clothing reflects sunlight and allows sweat to evaporate efficiently. I wear moisture-wicking fabrics instead of cotton, which traps heat and moisture against my skin.
I apply sunscreen with SPF 30 or higher to exposed skin 15 minutes before riding. My face, neck, arms, and legs need protection even on cloudy days since UV rays penetrate cloud cover.
Heat management strategies:
- Schedule rides before 10 AM or after 6 PM when temperatures are lower
- Pour water over my head and neck at rest stops to cool down quickly
- Recognize warning signs of heat exhaustion: dizziness, nausea, excessive fatigue
I reduce my typical pace by 10-15% when temperatures climb above 85°F. Pushing too hard in extreme heat risks serious health complications.
Cold Weather Equipment Adjustments
I dress in three distinct layers when temperatures drop below 50°F. The base layer wicks moisture away from my skin, the middle layer provides insulation, and the outer layer blocks wind and light precipitation.
My extremities lose heat fastest, so I prioritize protecting them. I wear insulated gloves rated for temperatures 10 degrees colder than the actual conditions. My feet need thicker socks or insulated shoe covers, and I wear a thermal cap or headband under my helmet.
Cold weather gear checklist:
- Thermal tights or leg warmers below 55°F
- Neck gaiter or balaclava below 40°F
- Clear or yellow-tinted glasses to protect eyes from wind
- Hand warmers for temperatures below 25°F
I lower my tire pressure by 5-10 PSI in cold conditions. This increases traction on potentially icy or slippery surfaces. My brakes need more frequent checking since cold temperatures can affect brake pad performance and responsiveness.
Urban vs. Rural Cycling Safety
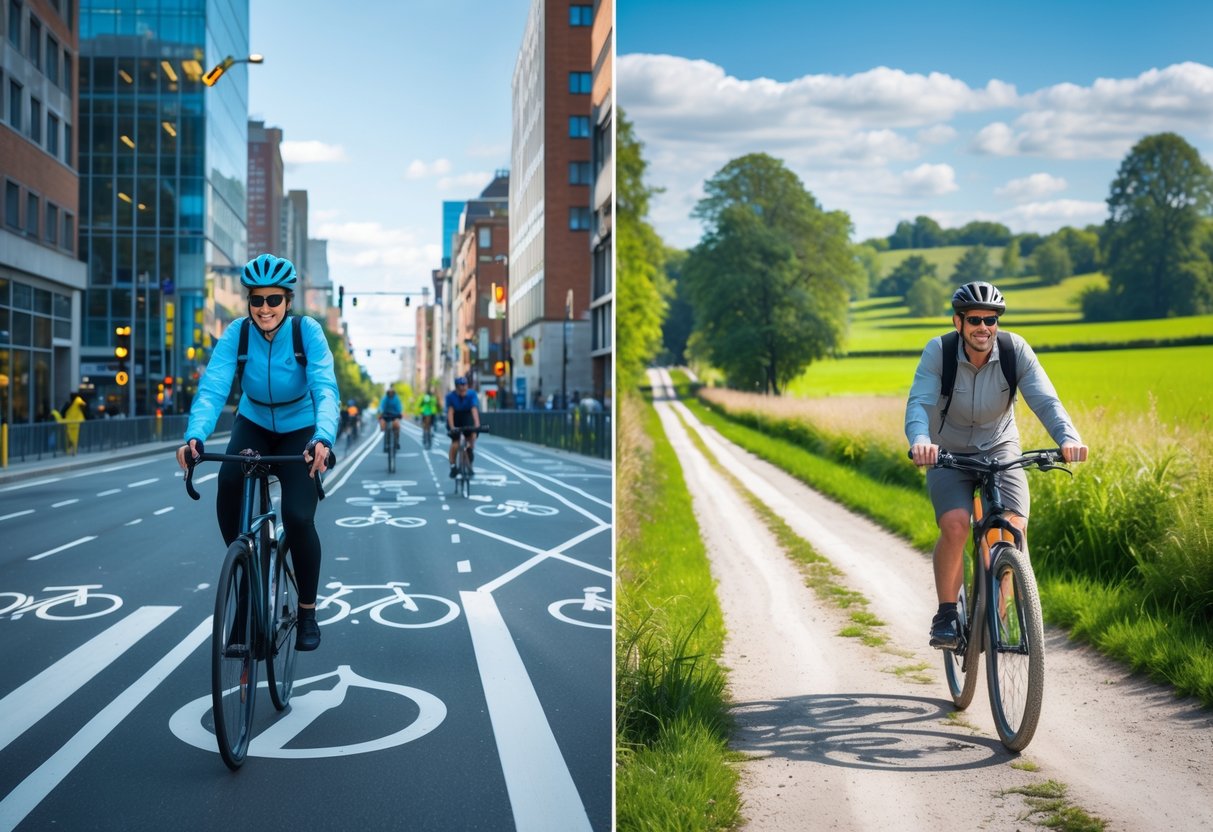
City streets bring heavy traffic and frequent intersections, while rural roads create dangers from high-speed vehicles and limited infrastructure. Each environment demands different safety strategies.
Navigating City Streets
Urban cycling puts me face-to-face with complex traffic patterns and constant decision-making. I encounter parked cars, opening doors, pedestrians crossing mid-block, and vehicles turning without warning. Intersections pose the greatest risk in cities, where multiple traffic streams meet and drivers may not expect or see cyclists.
Key urban hazards include:
- Door zones from parked vehicles
- Right-hook turns at intersections
- Heavy traffic during rush hours
- Road surface issues like potholes and grates
- Delivery trucks blocking bike lanes
I find that bike lanes and protected infrastructure exist more commonly in cities, which helps separate me from motor vehicles. However, these facilities often end abruptly or force me into conflict zones at intersections. The lower vehicle speeds in urban areas do reduce crash severity compared to rural roads, even though more bicycle crashes happen in cities overall.
Dealing with Rural Road Hazards
Rural roads expose me to faster-moving traffic with less room to maneuver. Vehicles travel at highway speeds, creating large speed differences between my bicycle and passing cars. Most rural roads lack shoulders or dedicated bike space, forcing me to share narrow lanes with trucks and cars.
Critical rural challenges:
- High-speed traffic (often 55+ mph)
- Narrow or non-existent shoulders
- Limited visibility around curves
- Loose gravel and debris
- Fewer escape routes
The severity of rural crashes is significantly higher due to vehicle speeds. I also deal with longer distances between towns, meaning less access to help if something goes wrong. Wildlife crossings and agricultural equipment add unexpected obstacles that I rarely see in cities.
Group and Solo Riding Considerations
Riding with others requires constant communication and awareness of the group’s movements, while solo riding demands personal vigilance and self-reliance for safety.
Communication in Group Rides
I’ve learned that clear communication is the foundation of safe group cycling. Riders need to call out hazards like potholes, debris, or parked cars well in advance so everyone behind can react. Hand signals work best for indicating turns, slowing down, or pointing out road obstacles.
Verbal cues are just as important as hand signals. I always announce “slowing” before braking, “on your left” when passing, and “clear” or “car up” to alert others about traffic. The front rider has the responsibility to spot dangers first and pass the message back through the group.
Essential Group Riding Signals:
- Point down at road hazards
- Raise hand to signal stopping
- Wave hand behind back to indicate slowing
- Point in direction of turns
- Call out “car back” or “car up” for vehicles
Maintaining a predictable riding line is critical. I avoid sudden movements or braking without warning. Riding too close to the wheel in front is dangerous—I keep at least one bike length of space to allow reaction time.
Responsibility When Riding Alone
Solo riding means I am entirely responsible for my own safety and preparedness. I always tell someone my planned route and expected return time before heading out. My phone stays charged and accessible in case I need help.
I carry basic repair tools, a spare tube, tire levers, and a pump on every solo ride. A mechanical issue that’s minor in a group becomes serious when I’m alone and can’t fix it. I also bring extra water and snacks since there’s no one to share supplies with if I run out.
Route planning matters more when riding solo. I stick to roads or trails I know, especially in unfamiliar areas. Riding in low-traffic areas during daylight hours reduces risk. I wear bright clothing and use front and rear lights even during the day to stay visible to drivers.
Physical Comfort and Injury Prevention
Proper bike setup and body positioning directly affect how your body handles the demands of cycling. Most cycling injuries stem from poor posture and bike fit rather than collisions with vehicles.
Ergonomics and Riding Posture
I recommend starting with proper bike fit as your foundation for comfort. Your saddle height should allow a slight bend in your knee at the bottom of the pedal stroke, roughly 25-30 degrees of flexion.
The handlebar position matters just as much. I suggest positioning your handlebars so your back maintains a neutral curve without excessive rounding or arching. Your elbows should stay slightly bent to absorb road vibrations.
Key positioning elements:
- Saddle level should be flat or tilted slightly forward (no more than 3 degrees)
- Reach to handlebars should not overextend your back or arms
- Cleat position should place the ball of your foot over the pedal spindle
I adjust my grip pressure regularly while riding. A death grip on the handlebars increases arm fatigue and transfers shock to your wrists and shoulders.
Preventing Common Cycling Injuries
Overuse injuries account for most cycling problems I see. Knee pain typically results from incorrect saddle height or pedaling with excessive force at low cadences.
I maintain a cadence between 80-90 revolutions per minute to reduce knee stress. Lower cadences force your muscles and joints to work harder with each pedal stroke.
Common injury prevention strategies:
- Increase weekly mileage by no more than 10% per week
- Warm up for 10-15 minutes before intense efforts
- Strengthen hip and core muscles off the bike
- Replace worn cycling shoes that no longer provide support
Numbness in hands or feet signals nerve compression from poor positioning. I shift hand positions every 10-15 minutes and wear padded gloves to distribute pressure across my palms.
Managing Fatigue and Discomfort
I pay attention to early warning signs my body sends. Persistent soreness in the same spot indicates a fit issue or overtraining that needs addressing.
Muscle fatigue differs from pain. Fatigue improves with rest, while pain from injury often worsens with continued riding. I take rest days when I feel persistent discomfort rather than general tiredness.
For longer rides, I stand up every 15-20 minutes to relieve pressure on my sit bones and change muscle activation patterns. This brief position change prevents saddle discomfort and reduces lower back stiffness.
Fatigue management checklist:
- Stay hydrated with 16-24 ounces of fluid per hour
- Consume 30-60 grams of carbohydrates hourly on rides over 90 minutes
- Stretch hip flexors, hamstrings, and lower back after rides
- Use chamois cream to prevent saddle sores on rides over one hour
I schedule easy recovery rides between hard training days. Recovery rides should feel comfortable enough to maintain a conversation throughout.
Technological Aids for Cycling Safety
Modern technology has created new ways to protect cyclists through wearable safety devices and navigation tools that help avoid dangerous routes.
Wearable Devices and Smart Helmets
Smart helmets now come with built-in crash detection systems that automatically alert emergency contacts if I fall. These helmets use sensors to detect impacts and can send my location to designated people within seconds.
Many smart helmets include integrated lighting systems that adjust brightness based on surrounding conditions. Some models have turn signals I can activate with a handlebar remote, making my intentions clear to drivers behind me.
Key features in modern wearable cycling technology:
- Rear-facing cameras that record traffic behind me
- Collision sensors that warn me of approaching vehicles
- Built-in communication systems for hands-free calls
- Heart rate monitors and fitness tracking
- Blind spot detection alerts
Wearable lights that attach to my body or backpack provide 360-degree visibility. These devices often sync with my phone to show battery life and adjust flash patterns. Some models can detect when I brake and automatically increase brightness to warn drivers.
Cycling Apps for Route Planning
Cycling apps help me find the safest paths by showing bike lanes, traffic levels, and road conditions. Apps like Komoot and Strava map routes that avoid high-speed roads and dangerous intersections.
Many apps include real-time traffic updates and weather alerts. I can see where other cyclists have reported hazards like potholes, construction zones, or aggressive drivers. This crowdsourced information helps me avoid problems before I encounter them.
Some apps track my rides and share my location with emergency contacts. If I stop moving unexpectedly, the app can send an alert with my exact position. Navigation features provide turn-by-turn directions without requiring me to look at my phone screen constantly.
Frequently Asked Questions
Cyclists need proper helmets and reflective gear to stay protected on the road. Comfort improves with padded shorts, proper bike fit, and gradual distance increases, while following traffic laws and maintaining visibility keeps everyone safer.
What are the essential pieces of safety gear for cyclists?
I consider a properly fitted helmet the most important piece of safety gear for any cyclist. The helmet should sit level on your head and cover your forehead without tilting back. When you buckle the chin strap, only one or two fingers should fit between the strap and your chin.
Reflective clothing helps drivers see you in low light conditions. I recommend wearing bright colors during the day and adding reflective vests or strips at dawn, dusk, or night.
Gloves protect your hands if you fall and reduce numbness on long rides. Padded cycling gloves also absorb road vibration.
Front and rear lights are required equipment in many areas after dark. Your front light should be white and your rear light should be red.
How can one maximize comfort while cycling long distances?
I focus on proper bike fit first because an incorrectly sized bike causes pain and discomfort. Your local bike shop can adjust saddle height, handlebar position, and reach to match your body.
Padded cycling shorts reduce friction and cushion your sit bones during long rides. I wear them without underwear to prevent chafing.
I build up distance gradually to let my body adapt. Adding 10% more distance each week prevents overuse injuries.
Taking short breaks every hour helps me stretch tight muscles and refuel. I eat small snacks and drink water regularly instead of waiting until I feel hungry or thirsty.
What rules should bicyclists follow to ensure safety on the road?
I follow the same traffic laws as cars because bicycles are considered vehicles in most places. This means stopping at red lights and stop signs, yielding to pedestrians, and signaling turns.
Riding with traffic flow rather than against it keeps me safer. Drivers expect vehicles to move in the same direction and may not see cyclists coming toward them.
I stay visible by riding where drivers can see me. Riding too far to the right near parked cars puts me at risk of being hit by opening car doors.
Using hand signals tells drivers what I plan to do next. I extend my left arm straight out for left turns and bend it upward at the elbow for right turns.
Can you provide safety tips for children who are learning to ride a bicycle?
I make sure children wear helmets every single time they ride, even for short trips. Head injuries are the most serious risk for young cyclists.
Starting in safe areas away from traffic builds confidence and skills. Empty parking lots, quiet streets, or parks provide space to practice without cars nearby.
I teach children to look both ways before entering streets and driveways. Making eye contact with drivers helps confirm that motorists see them.
Bright clothing makes children more visible to drivers. I avoid dark colors and add reflective stickers to bikes and helmets.
What strategies can help improve visibility and safety when cycling at night?
I use both front and rear lights when riding after dark. My front light illuminates the road ahead while my rear light alerts drivers behind me.
Reflective tape on my bike frame, pedals, and wheels creates moving points of light that catch drivers’ attention. Reflective ankle bands work especially well because they move with each pedal stroke.
I avoid wearing dark clothing at night. White or bright colored jackets with reflective strips make me visible from greater distances.
Riding in well-lit areas when possible improves safety. I choose routes with street lights and avoid unlit paths or roads.
What are key tips for adults attempting to learn cycling?
I recommend starting with a bike that fits properly and allows your feet to touch the ground when stopped. This builds confidence and prevents falls.
Practicing balance comes before pedaling. I suggest sitting on the bike and walking it forward with your feet, then gliding short distances with feet off the ground.
Learning in flat, open spaces reduces stress and injury risk. Grass fields provide softer landing spots than pavement during the learning phase.
I remind adult learners that falling is part of learning. Wearing protective gear like helmets, knee pads, and elbow pads reduces fear and injury.
Taking breaks prevents exhaustion and frustration. Learning to ride takes time, and short practice sessions work better than long ones.